Introduction: Why the TP-Link Kasa + Google Home Setup is a Match Made in Smart Home Heaven
Welcome to the simplest and most comprehensive guide you’ll find on the internet for completing your TP-Link Kasa + Google Home setup. If you’ve just unboxed your new smart plug or smart light and are staring at the two apps, wondering where to begin, you’ve landed in the right place. Many guides overcomplicate this process, but the truth is, the integration between these two platforms is designed to be incredibly user-friendly. The goal of this entire article is to provide a stress-free, step-by-step walkthrough.
This entire article is dedicated to demystifying every single step, corner case, and potential hiccup you might encounter. Our promise is that by following this guide, you will move from a box of parts to a voice-controlled, automated smart home in less time than it takes to brew a cup of coffee. The core of this seamless experience is a successful TP-Link Kasa + Google Home setup, which we will achieve together. We understand that starting with smart home technology can be daunting, which is why we’ve broken everything down into simple, actionable instructions.
We’ll cover everything from initial unboxing and app installation to advanced routines and troubleshooting. So, take a deep breath, grab your phone, and let’s transform your living space. The journey to a truly connected home begins with a single, simple TP-Link Kasa + Google Home setup. This guide is designed not just to get your devices working, but to give you the confidence to expand your smart home ecosystem in the future.
Chapter 1: Before You Begin – What You Need for a Flawless TP-Link Kasa + Google Home Setup
A smooth installation process is all about preparation. Before we dive into the actual steps, let’s ensure you have all the necessary components and prerequisites checked off. Having everything ready will make our targeted TP-Link Kasa + Google Home setup literally a 3-minute affair. Rushing in without the correct prerequisites is the most common reason for setup failures, so this chapter is critical.
1.1 The Hardware Essentials:
- A TP-Link Kasa device (e.g., Kasa Smart Plug (HS103/HS105), Kasa Smart Bulb (KL130), Kasa Light Switch (HS200)). These devices are renowned for their reliability and user-friendly design, making them a perfect choice for your first TP-Link Kasa + Google Home setup.
- Your smartphone (Android or iOS). Ensure it is connected to the Wi-Fi network you plan to use and has a stable connection.
- A stable 2.4 GHz Wi-Fi network. Crucially, most TP-Link Kasa devices do not support 5 GHz networks. Your router must broadcast a 2.4 GHz band for the TP-Link Kasa + Google Home setup to work. Many modern routers use a single name (SSID) for both bands; you may need to temporarily split them in your router’s settings to ensure your phone connects to the 2.4 GHz network during setup.
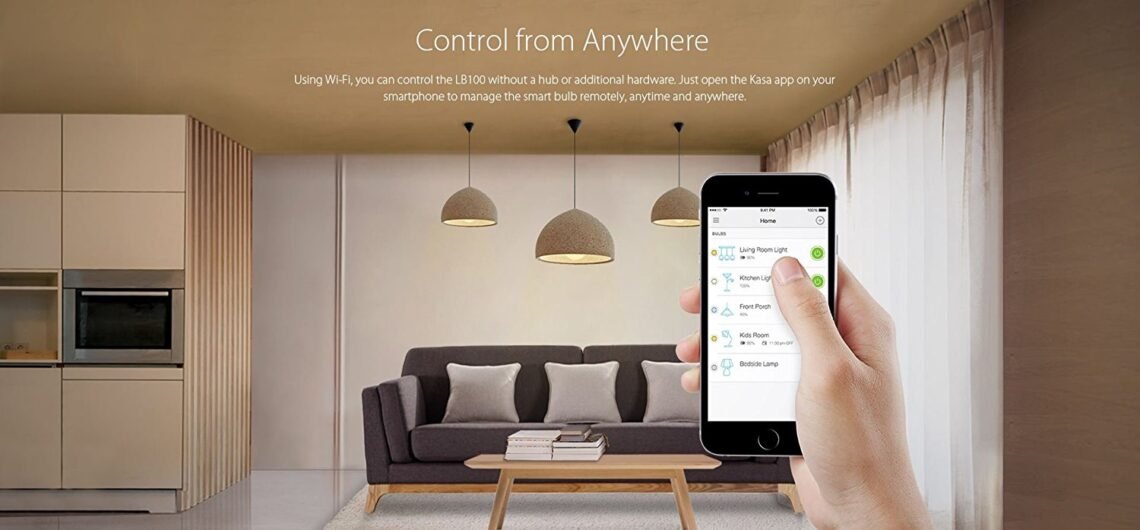
- A Google Home device (Nest Audio, Nest Mini, Google Home Hub, etc.) or just the Google Home app on your phone. The physical speaker is not strictly necessary for setup but is required for voice commands later.
1.2 The Software Prerequisites:
- The latest version of the Google Home app installed on your phone. You can download it for free from your device’s app store.
- The latest version of the Kasa Smart app installed on your phone. This is non-negotiable, as the initial configuration of your Kasa device happens here.
- A valid Google account (e.g., a Gmail address).
- A valid TP-Link Kasa account (you’ll create this during the process). This account is how your devices are remembered in the cloud.
Ensuring these elements are in place is the foundational step for any TP-Link Kasa + Google Home setup. If you meet all these requirements, you are 90% of the way there already. Taking five minutes to verify this list will save you potential frustration later.
Chapter 2: The Foundation – Completing the Initial TP-Link Kasa Setup
Before Google can talk to your plug, the plug needs to be connected to your home network. This is done exclusively through the Kasa Smart app. Think of this as teaching your Kasa device its name and where it lives before introducing it to its new friend, Google Assistant. This first step is the most hands-on part of the entire TP-Link Kasa + Google Home setup process.
2.1 Download, Create, and Connect
- Download the Kasa Smart app from the Google Play Store or Apple App Store. Open the app and create a TP-Link Kasa account. This is mandatory for a cloud-based TP-Link Kasa + Google Home setup as it links your devices to your identity. Use a secure password, as this account controls access to your home devices.
- Plug your Kasa device into a power outlet. You should see an LED light start blinking (often in amber or blue). This blinking light is a clear indicator that it’s in pairing mode and ready for its TP-Link Kasa setup. If the light is not blinking, try holding the power button on the device (if it has one) for a few seconds until it does.
2.2 Connecting to Your Wi-Fi
- In the Kasa app, tap the “+” sign to add a new device. The app will automatically detect the type of device you have (e.g., Smart Plug, Bulb). Select it from the list. If it doesn’t detect it automatically, you can manually choose the model from the provided list.
- Follow the in-app instructions carefully. The app will guide you through a crucial step: connecting your phone directly to the device’s own temporary Wi-Fi network (this will appear in your phone’s Wi-Fi list as something like “Kasa_Smart_XXXX”). This connection is temporary and only for configuration.
- After connecting, the app will then prompt you to select your home’s 2.4 GHz Wi-Fi network from a list and enter the password. This is the information it passes to your Kasa device so it can join your home network. Double-check your password for typos!
- Once successful, the device will appear in your Kasa app. You will be prompted to give it a clear, memorable name (e.g., “Living Room Lamp”) and assign it to a room. This name is vital for the later stages of the TP-Link Kasa + Google Home setup because this is the name Google Assistant will recognize. Avoid vague names like “plug1.”
This process alone completes the first half of the equation. Your Kasa device is now online and controllable from anywhere in the world via the Kasa app. You can test it by turning it on and off within the app. Now, let’s bring Google into the picture to enable the powerful voice control that is the goal of this TP-Link Kasa + Google Home setup.